We want to wish you a productive start to you summer! Ours has been quite busy to be honest.
We have begun implementing a plethora of innovative functions and features, all of which were a result of our customers’ needs. These new features will make your work easier, regardless of your traffic volume. So let’s get started!
Uploading groups of offers in CSV format 
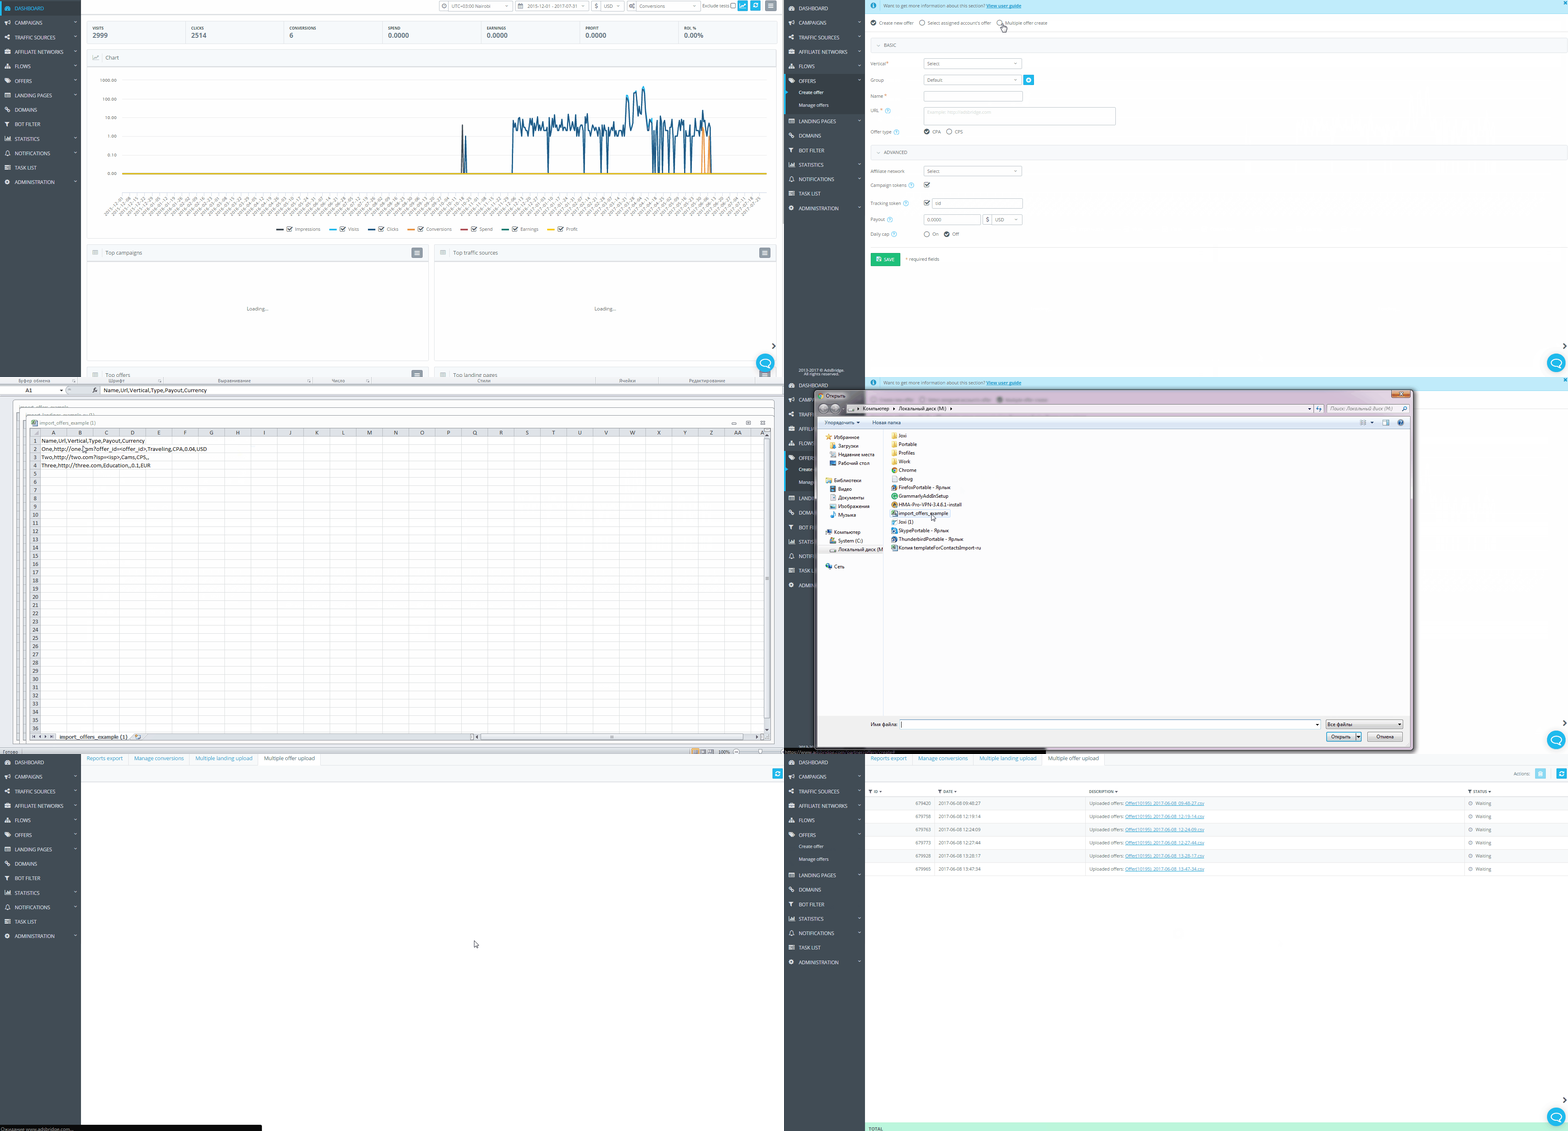
Uploading offers
You may upload multiple offers simultaneously into your account in a few easy steps:
- Download the file template in the CSV format onto your device by clicking the “Download Template” button.
- FIll in the required information and save the file in the CSV format.
- Upload the file into your account by clicking the “Upload File” button.
The upload will then be place in the task list, and a “Task list” window will open in which you will be able to easily check the upload process.
Managing Offers
Your uploaded offers will appear in the “Manage Offers” tab.
Upon uploading a file, each separate offer will receive an ID that will allow you to work with each offer separately, change the name, and edit it as well.
Uploading a set of landing pages in the CSV format 
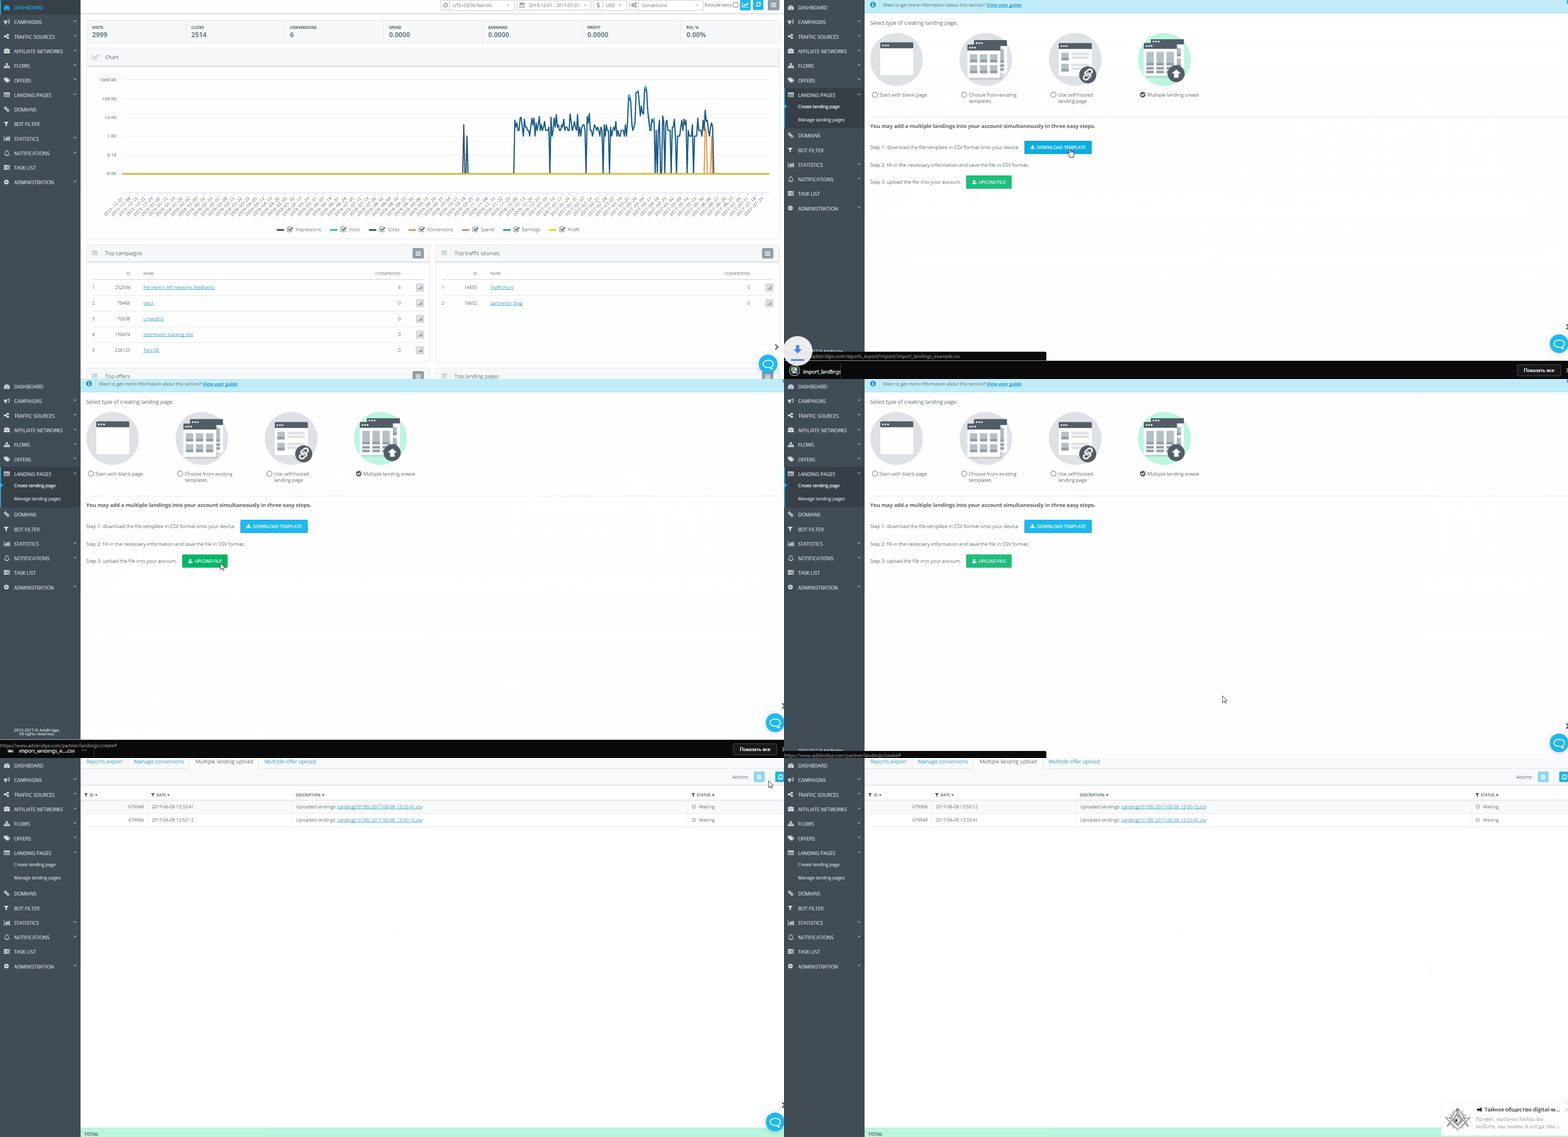
Uploading Landing Pages
Just like with offers, you may upload an entire list of self-hosted landing pages into your account. In order to do so, simple follow the following steps:
- Download the file template in the CSV format onto your device by clicking the “Download Template” button.
- FIll in the required information and save the file in the CSV format.
- Upload the file into your account by clicking the “Upload File” button.
Managing Landing Pages
In the “Task list” tab you will be able to see the status of your uploads. In order to customize your landing pages, please go to the “Manage landing pages” tab.
Automatic Optimization of paths within distribution rules 
To Activate:
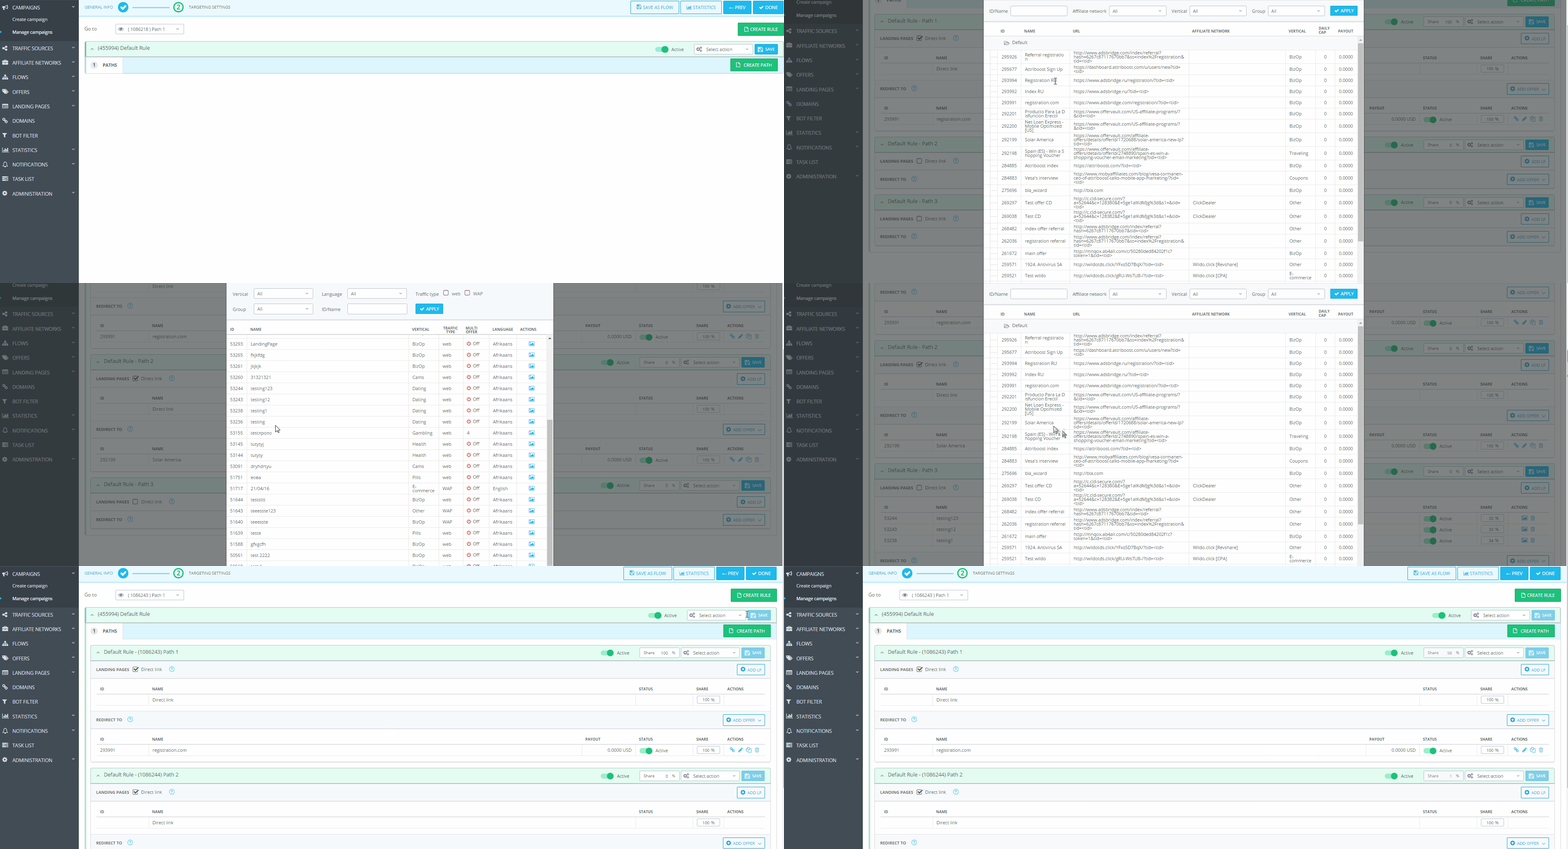
- Choose a distribution rule and add multiple paths to it.
- Save the changes.
- From the drop down menu, choose “Activate path auto optimization”
- Complete the necessary conditions for optimization. To do so, please indicate the click and conversion limit, as well as the time period into the “Path optimization settings” pop-up.
Please note!
Upon activation of path auto-optimization, you cannot change their distribution percentage.
Managing Paths
+Adding a new path while auto optimization is active+
For example:
Path1 – 80%
Path2 – 20%
- Add a new path – with an additional 20%. This will make the sum present as 120%. In this fashion, the new path will receive 20%, and the other 80% will be distributed proportionately. In result, we will see the follow result:
path3 – 20%
path1 – 64%
path2 – 16%
Deleting Paths –
Upon the deletion of a path, the percentage of that path will be distributed evenly between the remaining paths.
For example:
path1 – 20%
path2 – 30%
path3 – 50%
- Delete path 1 –
Path2 – 38%
Path3 – 62%
Path auto optimization logs:
After first launching of automatic optimization, you can view the optimization log, which is available for export in CSV format. It contains data on the basis of which, was decided to distribute percentages between active paths.
Why can’t I activate auto-optimization?
- You have not added any distribution rules.
- You have not add any paths.
- You have not saved the added paths and/or rules.
Additional updates:
- Updated the “Creating an affiliate network” / “Create traffic source” tabs.
Now you can easily find your favorite affiliate network / traffic source with a convenient search.
- The statistics display for archived elements has been improved.
There are now filters within all the tabs in the archived elements section.
Wishing you a productive start to your Summer!
-Your AdsBridge Team
